Posts

Showing posts with the label Outboard Leading Edge

Wing Outboard Leading Edge (Left) 17-4-2 to 17-4-5

Image
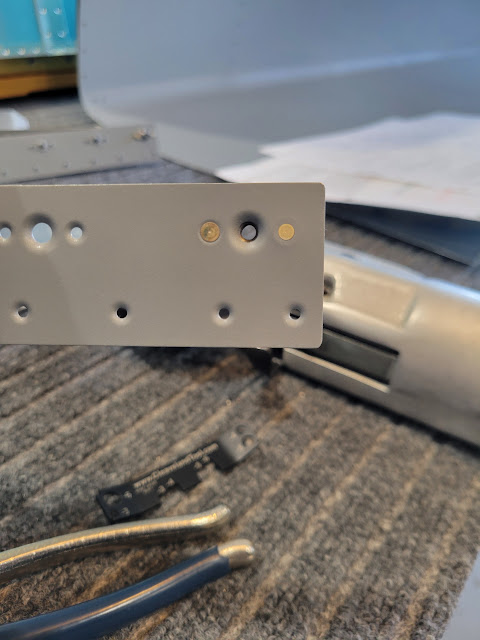
After completing riveting of the left wing top skins, I moved the saw horses around to make room for the left outboard leading edge.  With some help I clecoed the leading edge to the main spar web and flanges. The leading edge went on relatively easily, but I did use skin pins in places to ensure that the holes were lined up as accurately as possible.  Left outboard leading edge placed under the left wing, ready to be lifted into position Leading edge cleacoed in place with a combination of regular clecoes and skin pins Top skin and leading edge skin edges lined up nicely along the top of the wing Tie down hole also lined up perfectly with the tie down attached to the spar Next I used pull rivets to attach the leading edge ribs to the main spar web for all except the inboard most rib. Instead of using a double offset rivet set for the inboard rib where I had previously run into clearance issues on the right leading edge, this time I used a single offset rivet set that I had re...

Wing Outboard Leading Edge (Left) 17-3-13 to 17-3-14

Image
Moving on to working again on the left wing,  I reassembled the left outboard leading edge and started riveting it together in the same way I had done the right leading edge. Everything went together smoothly and somewhat quicker since I already knew what to expect. Left outboard leading edge after riveting using the same techniques as the right leading edge, with remaining blue plastic removed Inboard rib rivet bucked along the aft edges and squeezed along the curved forward edges Shop heads are all sized to spec Top side of left outboard leading edge Bottom side of left outboard leading edge Time Taken:      9.2  hours  Dates:                    May 14 - May 24 2024 Wing Outboard Leading Edge Total Time:        52.7  hours RV-10 Build Total Time:                                 ...

Wing Outboard Leading Edge (Right) 17-4-2 to 17-4-5

Image
Prior to moving the right wing into the wing stand, I wanted to finish attaching the outboard leading edge. To do so, I carefully repositioned sawhorses away from the outboard end of the wing where the leading edge get riveted in, and made sure there was no chance of the wing tipping with the additional weight of the leading edge by adding weight and clamps to the sawhorses at the inboard end. Then it was a matter of asking my wife and daughter to hold the leading edge up under the main spar so that I could cleco it into place through the spar. I wiped the wing surface with acetone to clean off any fingerprints and markings prior to attaching the outboard leading edge. Top surface looks even better now! Saw horses removed, and outboard leading edge strategically placed under the main spar so that it can easily be lifted straight up into position. Leading edge clecoed to the main spar I then continued by riveting leading edge to the spar web using LP4-3 pull rivets. For the two outboard...

Wing Outboard Leading Edge 17-3-11 to 17-4-1

Image
I started final assembly of the outboard leading edges by first riveting the nutplates to both left and right splice strips. I had previously decided to dimple the nutplate attach holes rather than countersink them as suggested in the plans, but realized that the aft most nutplate attach hole at the ends of each splice strip would interfere with the wing spar step bars when the leading edge was attached. To remedy this, I flattened out those 4 dimples and instead hand countersunk those holes using the deburring bit to fit a NAS 1097 3-3.5 "oops" rivet. This allows me to squeeze the rivet and still have adequate clearance to not interfere with the spar step bars when the leading edge is attached. All splice strip nutplate attach rivets were squeezed using the pneumatic squeezer. Aft most nutplate installed in the splice strip. Note the "oops" rivet head is slightly smaller than a standard AN426 rivet head You can see the difference in height of the shop head of the ...

Priming - Wing Outboard Leading Edge 17-3-10

Image
With all outboard leading edge parts dimpled, I moved on to priming them. Nothing complicated here, just had to keep track of the position of each rib in the leading edge using tags. Right outboard leading edge ribs, skin stiffeners and splice plates prepped with EkoEtch Outboard leading edge internal parts primed with EkoPrime. Only the left leading edge ribs remain to be primed. Since the weather was perfect for priming, I also took time to prep and prime the outbaord leading edge skins. Skin ready for cleaning with EkoEtch Right outboard leading edge skin etched and ready for priming Left outboard leading edge skin etched and ready for priming Outboard leading edge skin primed  Left leading edge ribs primed. Now all parts in both leading edges are ready for final assembly Primer used:   ~380g + 38g distilled water Time Taken:      6.6  hours Dates:                    April 11 - April 21 2024 RV-10 Bu...