Posts

Showing posts with the label Mid Fuse Ribs & Bottom Skins

Mid Fuse Ribs & Bottom Skins 26-7-4

Image
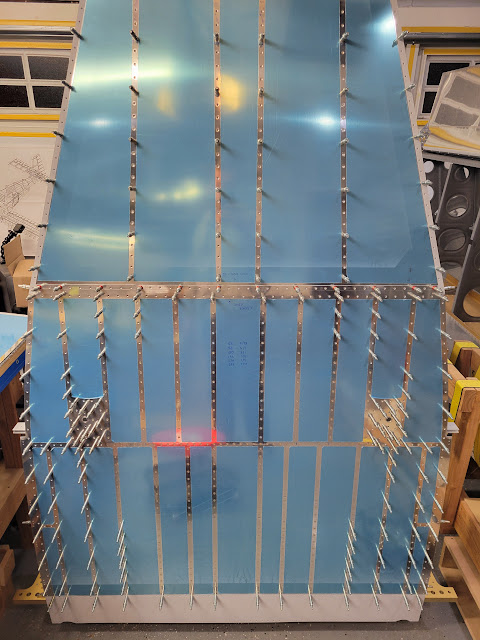
Riveting of the mid and aft bottom skins to the mid fuse and baggage area ribs continued steadily with my daughter's help on the rivet gun. The only tight areas were at the forward end of the mid fuse between the outboard seat ribs, but I carefully maneuvered the bucking bars to successfully set all rivets with only a couple that had to be drilled out and redone to meet the required shop head shape and dimensions. Making progress on the forward bottom skin. This was very strightforward with a helper. Left COM antenna doubler riveted to the skin and rib flange Same for the right COM antenna. No issues riveting these. Right COM antenna doubler from inside, between the rear seat ribs Left COM antenna doubler To reach the rivets along the flange of the F-1016 outboard seat ribs, I used the long elevator bucking bar. This made easy work of the rivets without having to reach inside the tight space (which I would have had to do had I used a shorter bar) To set the rivets along the flange ...

Mid Fuse Ribs & Bottom Skins 26-5-9 to 26-5-11, 26-6-7 to 26-6-9, 26-7-4

Image
To alodine the COM antenna doublers and spacers, I have been using Bonderite Alumiprep 33 for surface cleaning and Alodine 1201 for alodining. These are fairly easy to work with, however due to their toxicity I did take additional precautions by working outside, and to ensure that I didn't accidentally splash any chemicals on myself I wore goggles, gloves, long sleeves, and a respirator. Parts were dipped in a 5:1 solution of Alumiprep for about 5 minutes, then rinsed and dipped into a 3:1 solution of Alodine for another 5 minutes Doubler turning a golden hue while sitting in Alodine solution. I did find that the conversion was more effective if I moved the doubler within the alodine solution rather than letting it just site there After a final rinsing and drying, both sets of doublers and spacers were a similar color to my RV-10 wing spars After clecoing the spacers and doublers back into their respective rib bays, all that was left now to complete this section was to rivet the ...

Mid Fuse Ribs & Bottom Skins 26-5-9 to 26-5-11, 26-6-7, 26-6-9, 26-7-4, COM Antenna Doublers

Image
Riveting the mid fuse together, I was able to use the squeezer to set the rivets holding the bulkhead side channels to the rear spar bulkhead.  All rivets squeezed except those that will attach the F-1015A and F-1018 ribs Factory heads were placed on the thinner material where possible With the F-1015A and F-1018 ribs in place, I was able to use the single offset rivet set to buck the rivets from the F-1018 rib side Space was tight, but I was able to hold a bucking bar in between the two outboard seat ribs to set all the rivets to spec Next, working from outboard to inboard, I riveted each rear seat rib in turn. Once again the single offset rivet set worked really well here to fit over the flange of the rib. I also placed all factory heads on the thinner rib flange where possible to eliminate the possibility of the flange warping while riveting, Setting rear seat rib rivets using the single offset rivet set At the very top of the rear seat ribs, the flange angle is too great to use...