Priming - Horizontal Stabilizer Skins, Stringers and Ribs 8-9-9
Today I primed the remaining parts for the horizontal stabilizer. I began by using EkoEtch to etch all the pieces, making sure that I kept everything organized with the parts close to their associated labels. Having so many similar looking ribs and stringers, it is important to know which piece goes where otherwise holes may not line up when it comes to riveting.
 |
| Stringers prior to etching, with labels close by |
 |
| Etching large parts outside and using a hose to rinse |
The ribs were also etched and laid out in order. Etching is the most time consuming part of the priming process as you need to scrub all sides of the parts for 3 minutes each part, then the rinse and dry.
 |
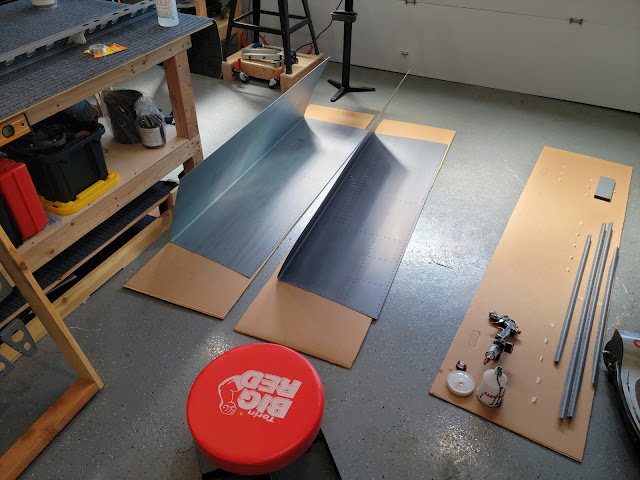
| Interior skin surfaces etched and ready for priming |
Once the ribs had dried thoroughly, I transferred them to the rack I had built that would allow me to easily move them around as they were primed. The ribs were held in place with thin steel wires, and put into the rack in order so that their position in the stabilizer could easily be tracked.
 |
| Ribs held in place in a custom built rack for priming, which is also a great way to let the primed parts dry |
I was able to easily move the rack with all the ribs outside for priming, and rotate it in whatever direction was necessary to prime all sides.
Once everything was primed, the parts were laid out indoors to let the primer cure for a few days. I am planning to touch up one the skins because the primer coat was a bit thin (see build hints below), but otherwise everything turned out well.
 |
| Skins and stringers all primed... |
 |
| ...as well as the ribs |
Primer used ~275g + 28g distilled water
Build Hints
- I found that to get a more even coat, priming the skins required a higher spray setting at the gun than priming smaller parts. For my spray gun, a setting of 4.0 -> 1.0 worked well for small parts, and a setting of 1.0 -> 2.0+ worked well for skins (sprayed from a distance of 4" - 6"). Spraying too close to the skin results in a thin line of heavy primer that has a tendency to run.
- I have found the best temperature range for applying the primer is 65 - 75 degrees. In this range, the primer dries quickly enough for efficient spraying, but not so quickly that it dries before hitting the. surface.
- Remove any loose blue film (that may collect water between film and aluminum) from parts prior to etching, otherwise marks may be left due to continued chemical etching on the aluminum surface when the part is rinsed, and water remains trapped next to the aluminum.
 |
| Marks seen on exterior skin surface due to water getting trapped under blue film when EkoEtch was rinsed. These marks are purely cosmetic and will disappear when the aircraft is painted |
Time Taken: 5.0 hours
Dates: September 25 - September 26 2022
RV-10 Build Total Time: 122.0 hours
Priming Total Time: 15.8 hours (not included in build time totals)

