Horizontal Stabilizer 8-3-2, 8-5-1 to 8-5-7
Continuing on with the horizontal stabilizer, I began by finishing step 8-3-2 which involves torquing the bolts of the rear spar inboard hinge bracket to spec. I used a CDI 3/8" Drive 0 - 75 In-Lb Dial Torque Wrench and this tool makes it really easy to not just dial in the correct torque, but also figure out the running torque of the nuts to be added to the final torque value. I ended up torquing the bolts to 20-25 In-Lbs (per Van's Section 5 for AN3 bolts) + 5-10 In-Lbs running torque per bolt.
 |
| Inboard hinge bracket bolts torqued, with torque seal applied |
 |
| Match drilling the front spar to the spar caps |
I then went and match drilled the front spar attachment brackets (fabricated earlier) to the spar and spar doubler. I used a #31 drill bit to drill the holes which took a while through the thicker aluminum, and the final drilled with a #30 reamer. I used BoeLube to lubricate the drill bit every couple of holes and make the drilling easier. Everything went to plan here and I ended up with some nicely aligned holes in the brackets.
I continued with final drilling the #30 holes common to the spar, spar doubler and spar caps, and then match drilling the 3/16" holes from the spar/spar doubler into the spar caps. However, here is where I ran into trouble and caused my first (but hopefully no more) major mistake of the build.
As I was match drilling the first 3/16" hole using a hand drill, all was going well as the drill went through the material, but as I was pulling the drill out, the bit caught on part of the spar doubler and lifted the entire assembly, causing the hole to become elongated in the vertical direction. The picture below shows the enlarged hole.
 |
| Enlarged hole in front spar doubler. Replacement on the way! |
I was worried that I had also elongated the hole in the spar and spar caps, but luckily when I disassembled everything that same hole looked fine in the spar and spar caps (picture below). So I fired off an email to Van's support to see if the spar doubler was worth salvaging, but even before they replied I decided to order a replacement doubler as I was not happy with leaving that enlarged hole there, whether it was safe or not. Van's had the same recommendation once I heard back.
While waiting for the replacement, I'll continue with other steps that I can work on.
 |
| Luckily the front spar and spar caps show no evidence of hole enlargement (it is the bottom right 3/16" hole) |
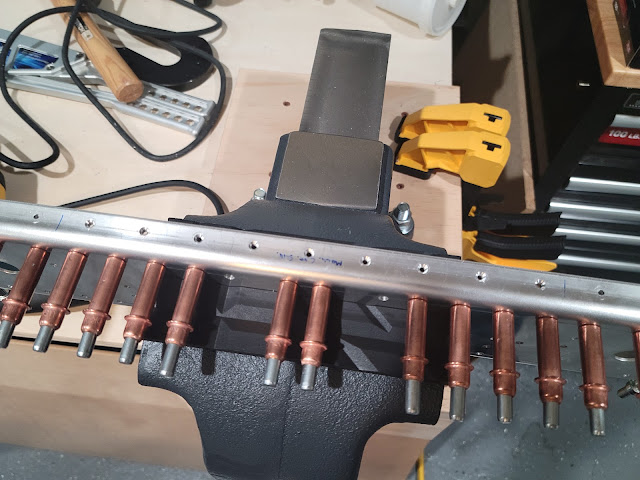
The only other step left to do on the front spar for now was to final drill and countersink the middle 9 holes on each flange. I clamped the spar into the vise, and used the air drill and countersink cage. I made sure that the countersinks were only deep enough so that the rivet heads would sit flush to the flange since the skins don't cover these rivets.
- When match-drilling holes larger than #30, always clamp the pieces down. Also if not using a drill press, use a power drill rather than an air drill as the bit does not need to turn as fast. When the hole has been drilled, be VERY careful to pull the drill straight out and ensure that the bit is not angled as it is removed from the hole.
Time Taken: 5.4 hours
Dates: August 20 - August 22 2022
Horizontal Stabilizer Total Time: 13.9 hours
RV-10 Build Total Time: 70.7 hours
Priming Total Time: 8.8 hours (not included in build time totals)
