First (practice) Priming Attempt
Time to prime! Now that I have several RV-10 parts that need to be primed, I decided to pause building and focus on priming. I have never primed metal before, and I have also never used a spray gun, so I needed some practice.
Parts Prep
In order to get some practice pieces for priming, I decided to disassemble the first Van's trailing edge practice kit that I put together a couple of months back. This also gave me plenty of practice in drilling out rivets that I have not done a lot of so far.
 |
| Drilling out blind rivets was easier than I thought it would be |
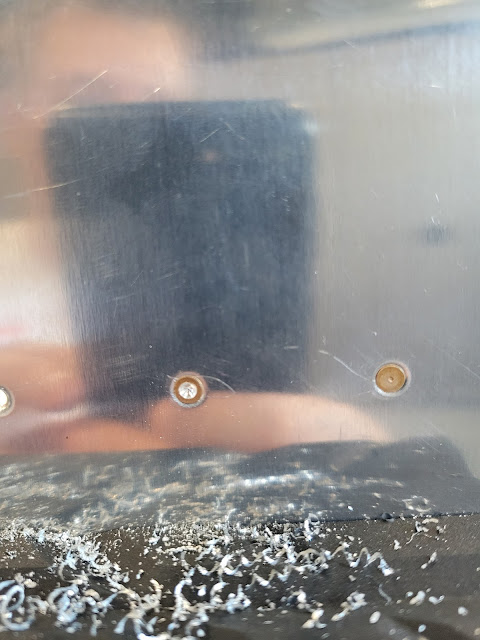
Drilling out the #40 countersunk rivets was easy enough, as long as I kept the hole centered. Small bursts of the drill when starting a hole helped to align the bit to the center of the rivet.
 |
| One skin off, another to go |
 |
| Stiffener rivets were drilled out with the assistance of the vise |
 |
| A perfectly centered hole. Once deep enough, the head just pops off using a pin punch |
 |
| Growing pile of drilled out rivet heads and tails |
To drill out the #30 universal head rivets I used the Rivet Removal Tool from Cleaveland Tool. This tool worked extremely well, and I would suggest watching this video to understand how to use it.
 |
| Rivet removal tool for drilling out AN470 rivets |
 |
| Rivet removal tool forms perfectly centered holes in AN470 rivet heads |
In general, rivet removal went very well. There were a few stubborn rivets that resulted in holes being slightly enlarged while drilling those out, but I guess that is to be expected. If I were to reassemble to parts I would just upsize those few enlarged holes and use the appropriate 'oops' rivet.
 |
| All rivets drilled out and parts ready for priming prep |
Priming Prep
I have decided to use Stewart Systems EkoPrime to prime my RV-10 interior parts. I looked into several different primer options, but decided on this one due to ease of application and lower toxicity.
The first step in preparing parts for priming involves etching the aluminum surface to give the primer a better adhesion surface. Stewart Systems provides EkoEtch for this purpose. There is also EkoClean available as a first step to clean the aluminum surface, but because I was priming new aluminum I decided to skip this step.
EkoEtch has to be diluted 2:1 (2 parts water to 1 part EkoEtch) before being sprayed on the aluminum. I added this mix to a spray bottle for ease of application.
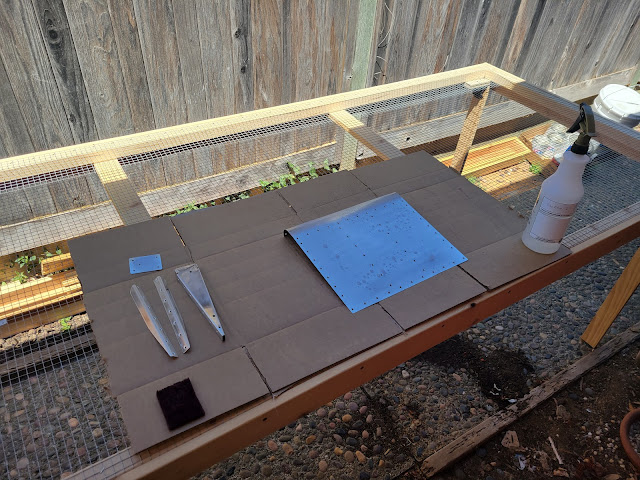
I had built a priming table with a hardware cloth surface on which I could prepare and prime all parts. EkoEtch is sprayed on a few parts at a time and scrubbed for 3 minutes with a maroon Scotchbrite pad before being rinsed with water. I was careful to keep the surfaces wet at all times while etching.
 |
| Parts being etched outside |
With etching complete, I dried the parts with a clean terry towel. In preparation for priming, I also built a frame, as other builders have done, in order to hold smaller parts securely while spraying.
 |
| Frame holding smaller parts using steel wires |
 |
| Close up of wires passing through holes in parts |
Priming
To prime, I went with the Spray-It SP-33000 LVLP spray gun. I chose LVLP over HVLP due to the CFM output limits of my air compressor. The spray gun kit comes with several nozzles, but I will be using the recommended 1.3mm nozzle for spraying the EkoPrime. |
| Spray-It SP-33000 LVLP spray gun kit with additional oil/water separator |
EkoPrime comes in a few different colors, but I decided to go with the Charcoal Gray option based on some online recommendations due to its contrast against the color of scuffed aluminum making it easier to see the primer coat being applied. There is also a Smoke Gray color option which I might go with if I decide that Charcoal Gray is too dark, however Smoke Gray is closer to the color of bare aluminum.
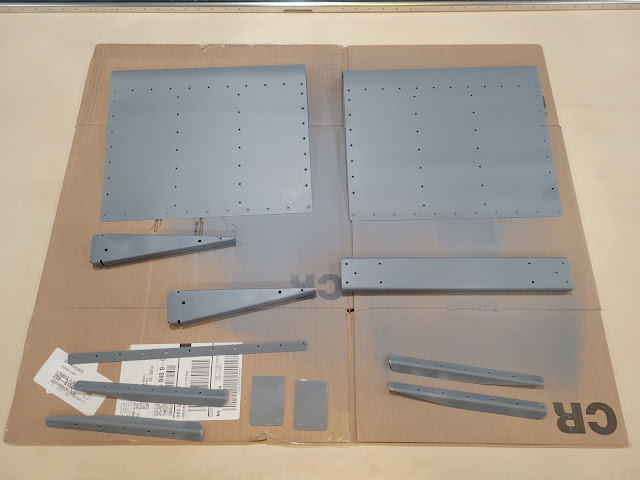
Priming the trailing edge parts went pretty well (for a first attempt). I had to experiment with the spray gun settings a little as well as how close to hold the gun to the piece while spraying, but given the results I feel I got it pretty well dialed in in the end.
Spray Gun Setup
- Top knob - Spray pattern - right = round, left = fan
- Middle knob - Liquid Volume - right = less, left = more
- Bottom knob - Air Volume - adjust to set regulator PSI while spraying
Compressor set at 90 PSI
Regulator set at 85 PSI not in use, 30 PSI while spraying
Nozzle 1.3mm - horizontal = vertical spray, vertical = horizontal spray
For tack coat, turn middle knob 1/4 to 1/2 turn to right... turn back to left for regular coat.
Do not adjust bottom knob, and rarely top knob.
Mix primer in 20 - 200 gram (+10% distilled water by weight) batches. 50g+5g if only priming a few pieces.
Spray steadily (~4" per second) 4-6" above surface. BE CAREFUL NOT TO OVERSPRAY.
Use a vertical spray for left to right priming of skins and other large pieces.
Use a horizontal spray for top to bottom priming of smaller pieces in the small parts rack.
Priming Results
There were a few areas where some bits were missed, as well as a few others where I oversprayed slightly resulting in run marks, but I'll get more consistent with practice. Overall I'm happy with these first time results.
I did also get caught out once where I was spraying and no primer was coming out. Took me a minute to figure out that the primer had dried where it exited the nozzle, and once I removed that dried piece all was well again.
 |
| Parts are primed |
I'll let these parts cure for a couple of days, then check to see how well the primer adheres.
Lessons Learned
- When drilling out pull rivets, or solid rivets, don't push too hard while drilling out the rivet head. There is a very small interval between where the head pops off and the drill pushes the rivet tail out.
- Watch for spray gun nozzle getting clogged due to dried primer, resulting in no primer exiting and hitting the part.
Time Taken: 6.6 hours
Dates: July 17 - July 20 2022
No video as I didn't want to risk accidentally priming the camera!