Build log documenting construction of my Van's RV-10 airplane.
Started RV-10 on June 29 2022.
Builder #42638
Wing Flap 22-7-1 to 22-8-3
-
After a short break from building the RV-10 (for a long awaited family vacation), I picked up where I left off, and riveted the flap ribs and hinge bracket assemblies to the spars.
Except for the outer ribs at each end of the spars, all other ribs and assemblies were easily riveted using the pneumatic squeezer and longeron yoke. I also set all rivets with the manufactured head on the thinner material. I had to temporarily uncleco some ribs to gain access to rivet others, but by working along the spar setting each rib in turn, there were no issues getting the squeezer and yoke square to the rivet.
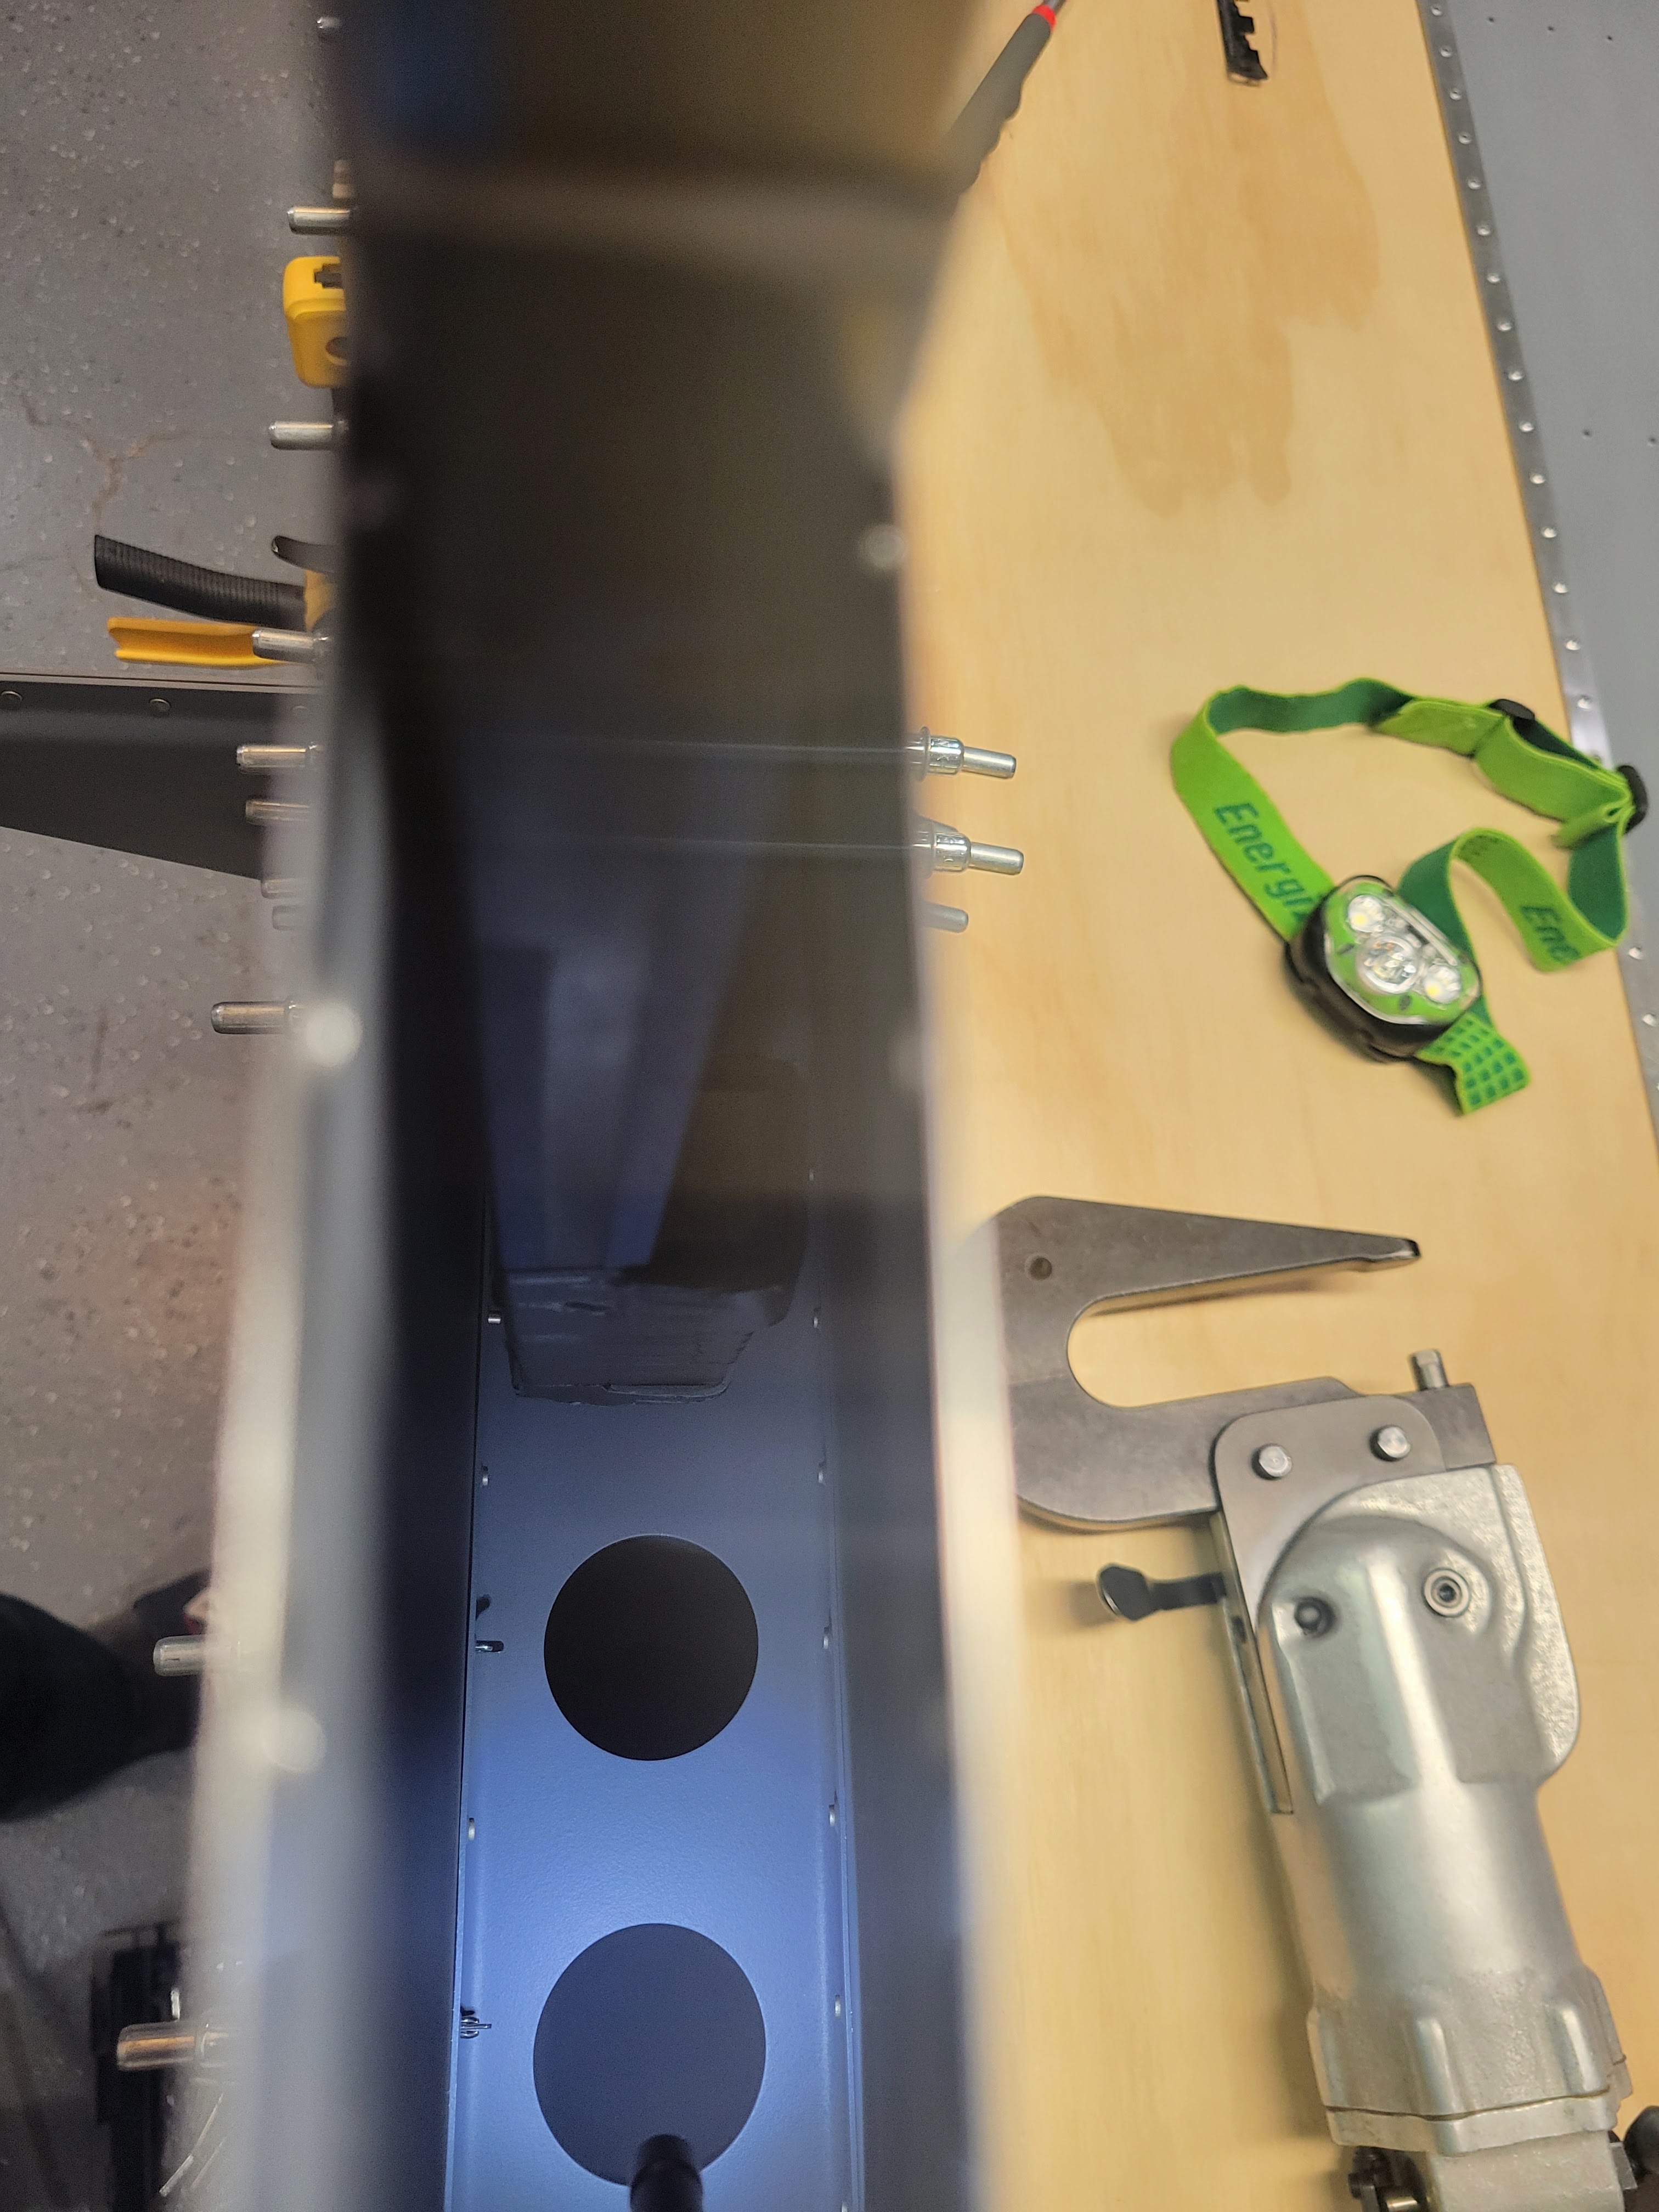
Rivets holding flap ribs to the spar
Shop heads formed on the spar to avoid rib flanges from deforming while riveting
For the outer ribs, the nose and trailing ribs share rivets, and getting the squeezer in there would have meant pushing one of the ribs (the trailing rib was easier to push) out of the way. However, doing this I could see the flange of the rib being pulled away from the spar, so I felt it better to buck these rivets.
However, due to the proximity of the rib web, I had to use an offset rivet set for clearance. Due to thin rib flanges on both sides of the spar for these rivets, I did notice the edge of the shop side flange pulling away slightly (~1/64") after riveting. This, however, is fine as the material around the set rivet is still held tightly. This is also the reason for the general recommendation that the manufactured head of the rivet be placed on the thinner material where possible.
Using the offset rivet set to rivet the end ribs in place
For bucking rivets I made sure the flap skeleton assembly was securely clamped in place
Bucked rivets formed well, however if you look closely, the edge of the rib flange on the shop head side is bent away from the spar ever so slightly
Bucked rivet shop heads...
...and manufactured heads which are undamaged by using tape between the rivet set and the rivet
Left and right flap skeletons completely riveted. On to skin attachment!
After priming the flap skins, I began final assembly by clecoing the nose skins to the spar assembly, and then inserting the top skin in-between the nose skins and spar. I used several clecoes to ensure that all parts were held tightly together and in alignment. I also clecoed the trailing edges to the top skin to add some additional rigidity during riveting.
Top skin and nose skins clecoed to left flap spar, ready to be riveted together
Flap hinge holes line up perfectly after clecoing, confirming that everything is in alignment
Trailing edge wedge clecoed in place to add additional rigidity, otherwise the top skin by itself tends to be wavy while riveting
Next, I bucked all the rivets along the top of the spar, followed by the rib top flange rivets. The plans call for back riveting the two trailing rib rivets, but I found it easier to just buck these as well using my 45" angled bucking bar. End rib rivets were easily squeezed except for the two trailing rib rivets which were again bucked due to the tight space.
Using a small rectangular bucking bar to set rivets along the flap spar
All internal flap rib rivets were bucked using a combination of bucking bars
Riveting the trailing rib rivets using the 45 degree angled tungsten bucking bar to fit in between the flanges
On the right flap, I tried using the handheld bucking bar to back rivet the trailing edge rivets with the flap held in the cradle. This was even easier that using the angled bucking bar and gave slightly better results with a flatter skin surface.
Back riveting trailing edge rib rivets in place using a handheld back riveting bar
After clecoing the bottom skin in place, I had to figure out a way to rivet it and the nose skins to the bottom flange of the spar. There's not a lot of room to maneuver a bucking bar in the tight space between the skins, but after some online research I came across a great tip from @AustinManke and tried his suggestion of using the long bucking bar (previously used for the elevators) to buck these rivets.
I padded the non-bucking sides of the bar with some thin foam sheet from the craft store, and added my tungsten bucking bar behind the long bar for additional mass. This worked really well to set all the rivets along the spar.
I did, however, still have to stick my arm in between the skins to rivet the rib flanges to the spar as the long bar does not get a good angle on those, but this was not too bad as there are only 9 of these to do on each flap.
Long bucking bar taped and padded, with tungsten bar attached to the back for additional mass
Padded bar fits nicely between skins, and padding provides protection in case it moves against the skins
Bar is easily held in place for riveting and rests on the spar web while riveting
For the rivets next to the flap hinge brackets, I used my 3/4" Boeing flat set held with self fusing silicone tape which allowed me to just clear the hinge bracket with the rivet gun
All rivets set along the flap spar. Now onto blind riveting the nose skins!
Nose skin rivet holes (except for those at each end of the flaps) were upsized to #33 (using a reamer where there was easy access, and a 12" #33 drill bit next to the flap hinge brackets). The MK-319-BS blind rivets were all easy to set using my PRP-26A tight fit pull riveter.
Enlarging nose skin holes next to the hinge brackets with a 12" #33 bit
The tight fit rivet puller fits easily over the rivet mandrel making the job of setting this rivets a breeze!
All rivets set securely next to the hinge brackets
Once all the nose skin rivets were set, I was now ready to work on completing the trailing edges.
Both flaps ready for attaching the trailing edge wedges
Build Hints:
While assembling the flaps, use a lot of clecoes to keep parts in alignment and maintain a tight fit. Temporarily attaching the trailing edge wedge to the skins also eliminated the waviness seen when skins are clecoed only to the spars.
Initial attempts to back rivet the trailing edge rivets did not work well for me. Using an angled tungsten bar to buck those rivets worked, but I got best results with a back rivet bucking bar held against the skin and back riveting that way.
Use self fusing tape to get additional clearance when bucking rivets next to the hinge brackets.
A 12" #33 drill bit was necessary to enlarge nose skin holes next to the hinge brackets. However, be careful not to accidentally enlarge the nose skin holes at each end of the flaps. Those rivets are squeezed rather than blind riveted.
The PRP-26A tight fit rivet puller was again useful here to set blind rivets next to the hinge brackets as no other rivet puller that I have fits.
Time Taken: 21.5 hours
Dates: August 20 - September 24 2024
Wing Flap Total Time: 69.4 hours
RV-10 Build Total Time: 794.2 hours
Priming Total Time: 99.9 hours (not included in build time totals)