Build log documenting construction of my Van's RV-10 airplane.
Started RV-10 on June 29 2022.
Builder #42638
Van's Trailing Edge Kit - Part 2 - 1st Attempt
-
The second part of the Van's Trailing Edge practice kit involves building an actual trailing edge piece (that I believe would be found on an RV-8). This part of the kit comes with 2 skins, 2 ribs, a spar, some stiffeners, doublers and some aluminum angle. The aluminum angle is not actually part of the trailing edge, but is used to make a clamping block to which you can clamp the trailing edge while riveting.
The raw parts and instructions are shown below.
New project, new parts
The first step was to remove the blue plastic from all parts. I tried using a soldering iron to remove only the plastic around holes and edges, but I think I rushed the process and had difficulty removing the plastic strips. So I just went ahead and removed all the plastic.
Initially I was thinking it is much easier just to remove all plastic when I start building the real airplane, but after seeing strange scratches appear on the skins while I was constructing the trailing edge, I think I will at least make the effort to remove plastic strips from the skins while constructing, and remove the remainder of the plastic once construction of the component is complete.
After this plastic debacle I was to mark cut lines on the skin stiffeners, cut them to size and debur them. This all went smoothly and the results are shown below.
Finished skin stiffeners
Then I had to debur edges on all parts, but strangely the instructions didn't appear to mention deburring the rib edges (unless I missed it). Note to self... don't debur large skins on the bench grinder... I managed to catch one edge of a skin on the wheel and it got slightly deformed. Not sure if I would have needed to order a new skin if that had been on the real airplane. Next time I'll try clamping the skin to the workbench and using a smaller scotchbrite wheel in a drill to debur the skins.
All parts deburred
Following the deburring effort I was to attach the skin stiffeners to the inside of both skins. This involved final drilling and back riveting. One thing I found very useful here to align the initial position of each stiffener to the skin was to use a pair of small magnet clamps to hold the stiffener in place while I drilled the first few final size holes.
Magnets holding stiffeners in position
Attaching the stiffeners to the skins went smoothly and back riveting worked very well (as it has every time so far) giving the results shown here.
Finished back-riveting skin stiffeners
Now that the skins were ready, I had to form the structural skeleton from the spar, ribs and spar doublers. This involved match-drilling, final-drilling and deburring the holes. No issues here!
Skeleton clekoed together
I did, however, have a small issue when riveting the skeleton together using universal rivets and the pneumatic squeezer. The rivets closest to the edges of the spar tended to push the pieces apart a small amount (3 pieces sandwiched together - doubler, spar web and rib flange). I'll keep an eye on this in future, but I might try to see if there is a way to clamp the edges tighter, as I don't think I could have held the pieces together any tighter by hand.
With the skeleton constructed and riveted, I now clekoed the skins to to ribs in preparation for final drilling.
Skins clekoed to skeleton...
...from a different angle
Final drilling the holes was fine, but I did make a mistake at the start because I just started reaming away at the holes and didn't notice there was a #30 reamer in the drill (from reaming the skeleton holes) when I should have used a #40 reamer. I ended up with 3 oversized holes in the bottom skin/rib before I realized!
When it came to match-drilling holes in the trailing edge wedge, I tried using cleko clamps to hold it in position, but they kept slipping. In retrospect, I should have used spring clamps because the clamps can adjust to the angle required to hold the pieces together. Countersinking of the trailing edge wedge went pretty well though, except for some reason the holes on the ends had a rather squarish countersink... not sure why!
Countersunk trailing edge wedge
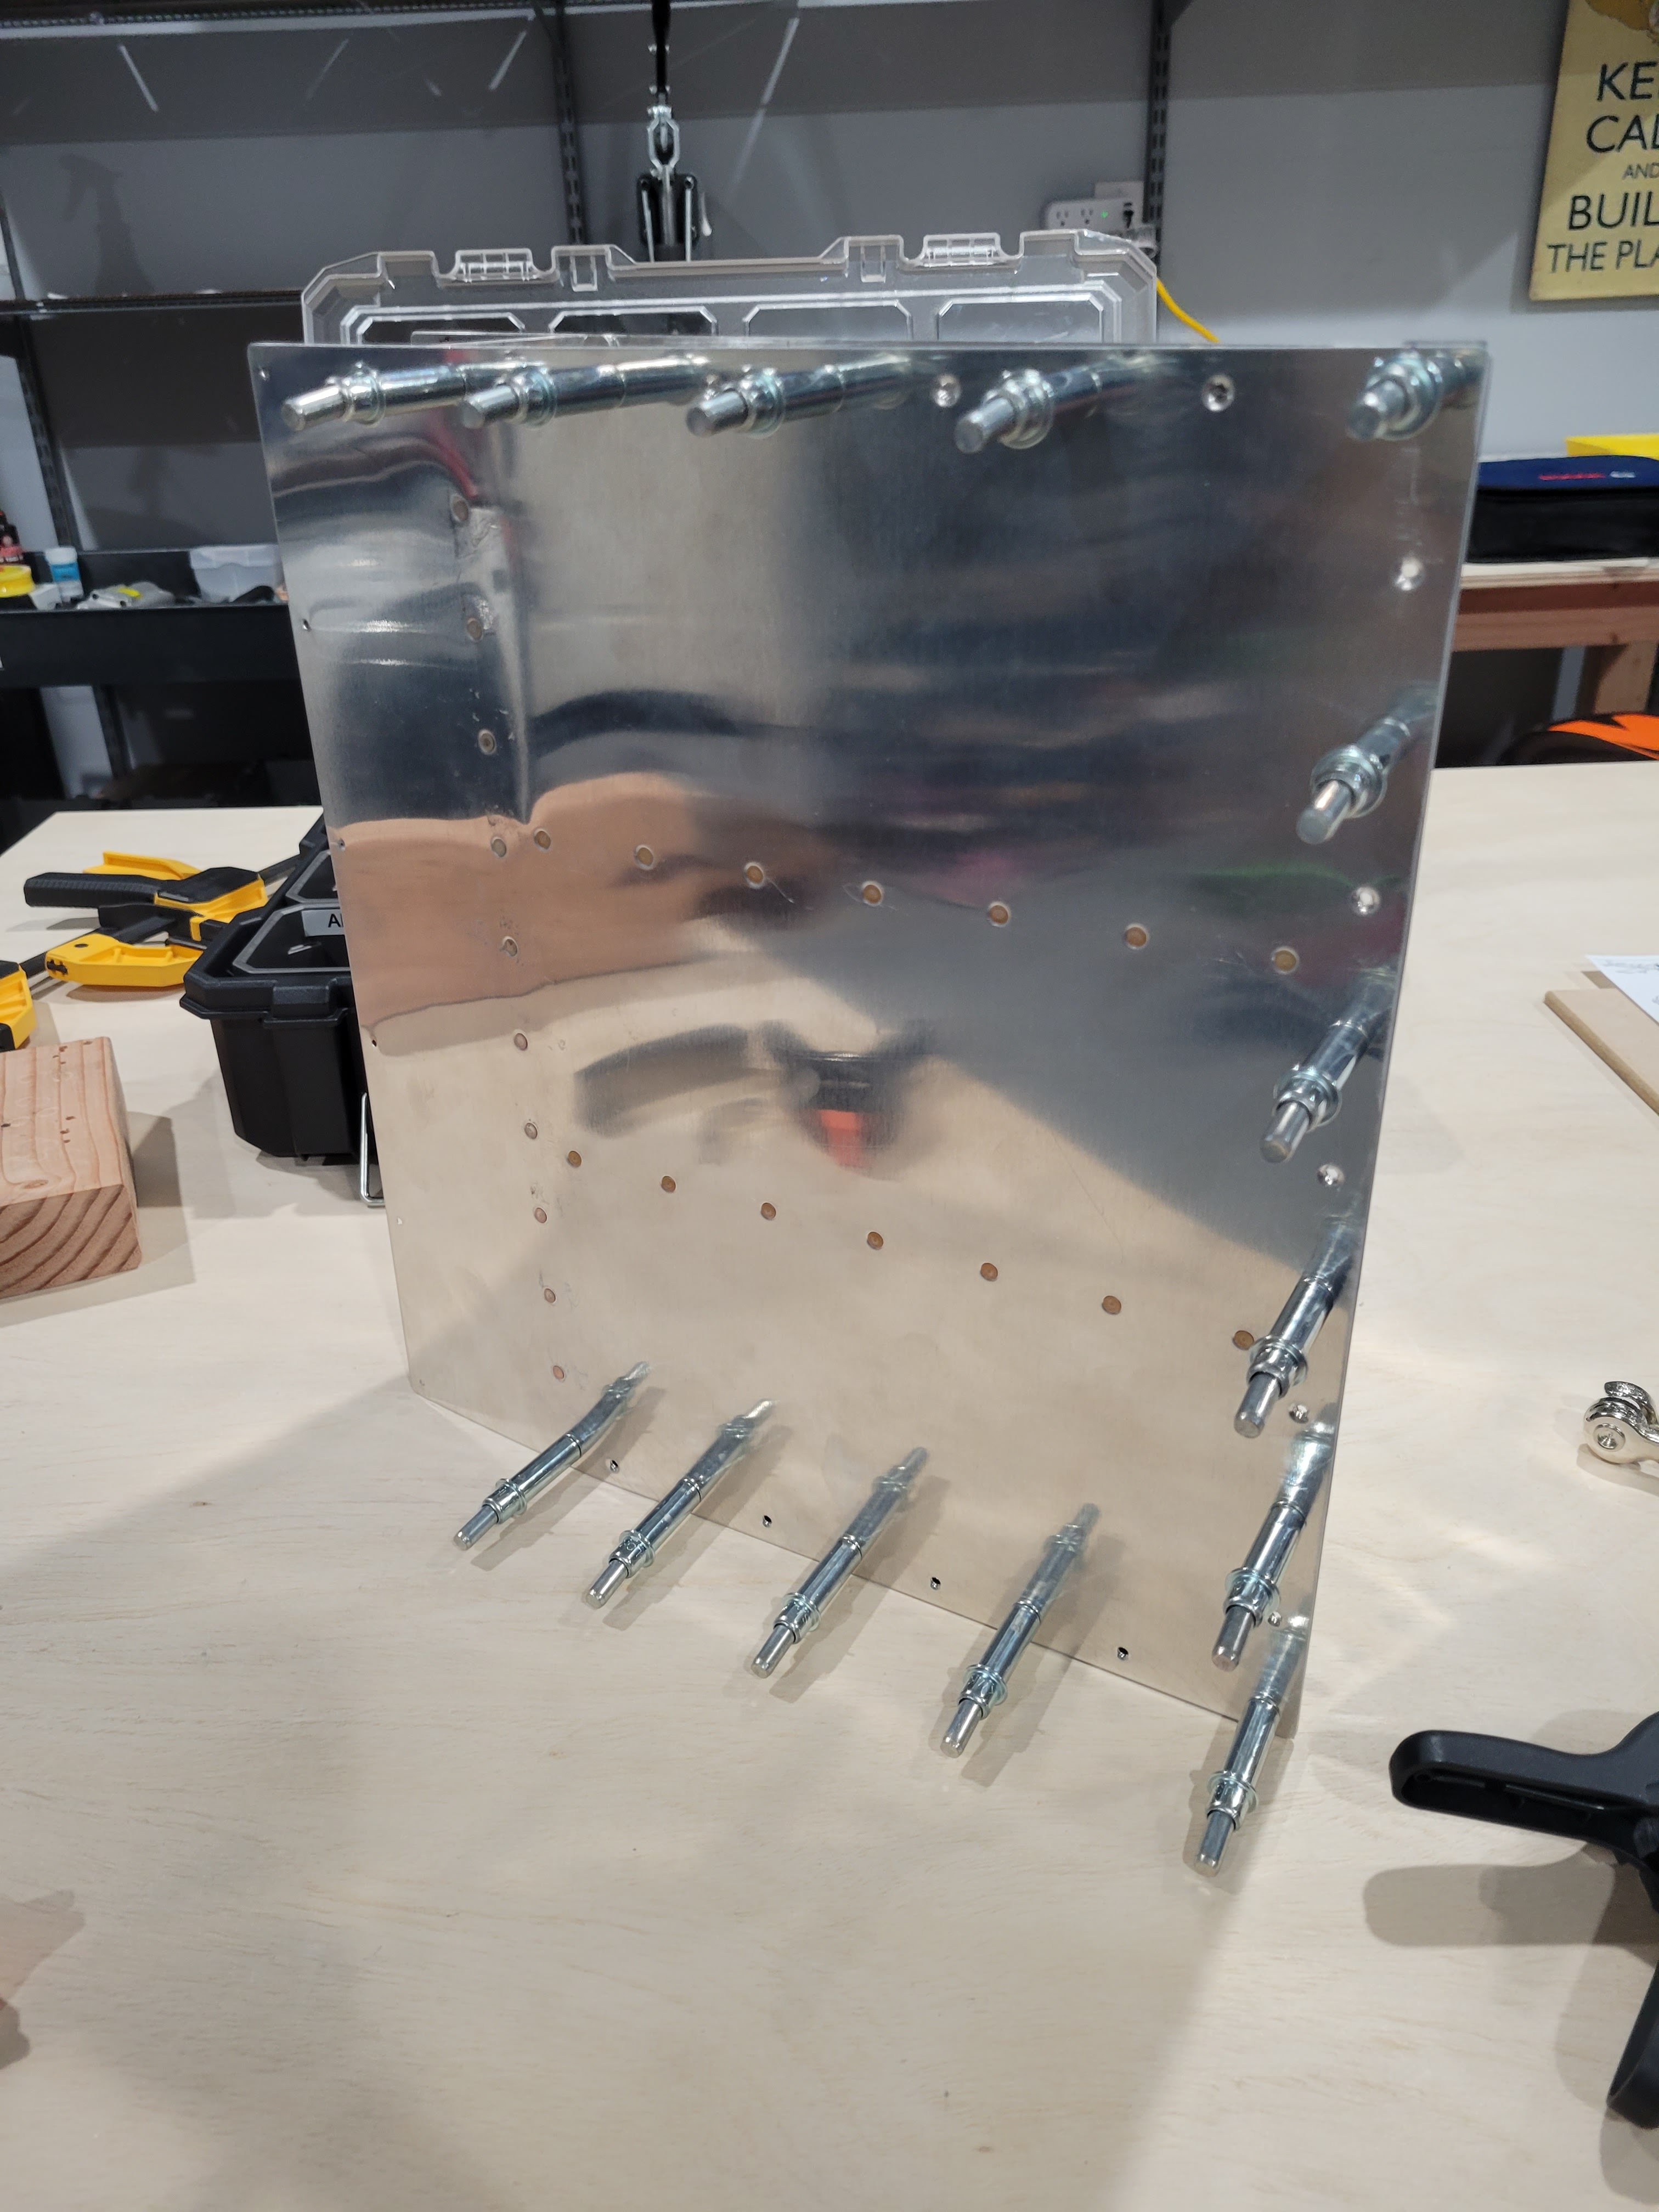
Below you can see the trailing edge clamped to a wood block with aluminum angle attached at the ends so it itself could be clamped to the workbench. This was the recommended setup to rivet the skins to the spar using a bucking bar and flush set.
Skins ready to be riveted to spar
However, I had a hard time holding the bucking bar in place using this setup, and managed to mangle a few shop heads. I also let the rivet gun slip once and that resulted in a few smilies below one rivet on the bottom skin.
Riveting bottom skin to spar...
... still riveting
... still riveting
...and done... not perfect though
With the bottom skin riveted to the spar, I decided to try a different approach for the top skin. For that I lay the assembly down on the bench and reached in between the skins to rivet the top skin to the spar. This felt much more comfortable and I did a better job on the shop heads, but it is important to clamp the piece firmly to the bench so it does not move while riveting. I don't have any pictures of this, but you can see the process in the build video linked below.
Squeezing the rivets for skin to rib was pretty uneventful. I started with the pneumatic squeezer for the easy-to-reach rivets, and then switch to the thin-nose yoke and the hand squeezer as space got tight. I could not, however, reach the final rivet on the trailing edge of each rib as there was not enough space to hold the yoke against the rivet. I am waiting to receive another bucking bar that I recently ordered from Aircraft Spruce, that I hope will fit in there so that I can complete these remaining 4 rivets.
Getting ready to squeeze rivets for skin to ribs...
...all clekoes in place
The only thing to watch out for when squeezing rivets (pneumatic or manual) is to not put excess pressure on the shop head side as the squeezer is coming together. A couple of my squeezed rivets had the manufactured heads sitting slightly proud of the dimple because I pushed the squeezer against the shop head as it was squeezing. I'll need to pay more attention so it doesn't happen again next time.
Now to rivet the trailing edge...
Riveting the trailing edge involved a combination of back riveting and squeezing. Initial setting of the rivets was done with a 3/4 inch mushroom head and back rivet plate. I then used the Cleaveland AEX Trailing Edge Flat Set to finish the job. It worked beautifully and I am very happy with how the trailing edge came out.
Skin fully attached to skeleton, except for a few rivets
All that was left now was to roll the leading edges of the skins together so that they could be pull riveted.
Final step will be to roll the leading edges and fasten edges with pull rivets
Here I had issues with rolling the edges. When I attended the Synergy Air Fundamentals 1-day course in Eugene, Oregon back in November 2021, the guidance was to really roll the edges over as much as possible. So I started by taping a 3/4 inch pipe to one edge, attached a vice grip to the pipe and really cranked the vice grip over as much as I could. The only thing this resulted in was to over bend the edge, and my attempts to manually pull it back resulted in adding a significant amount of waviness to the edge.
At one point I also tried rolling with a 1/2 inch pipe but that just made things worse. When I went to match drill and cleko the edges together, there were some parts of the edge that had significant pillowing between the clekos due to my rolling efforts.
Next time I will try a different edge rolling technique that is outlined here in VAF forums and more closely follows the guidance given in Van's manual section 5. In hindsight, I now believe that the technique taught at Synergy Air's Fundamentals class was just a way to roll edges quickly due to time constraints, whereas this technique actually requires more finesse.
Right side (rolled edges not symmetric)
Left side (better, but still room for improvement)
Here is the finished trailing edge. Not bad, but I learned a lot of lessons from constructing this kit. Hopefully I won't make the same mistakes again!
Finished trailing edge...
... not bad for a first attempt, but learned a lot
Lessons Learned
Don't debur skin edges longer than 8" - 10" on the bench grinder as there is not enough clearance between the grinding wheels, and you risk the skin edge getting caught on the wheel and deformed.
After finishing a work session, remove all drill bits, dimple dies and anything else that deforms metal from tools so that at the next work session you have to explicitly select the appropriate tool to use. I accidentally reamed a few holes to 1/8" when they should have been 3/32" because I left the #30 reamer in the drill and started using it without thinking.
To clamp the trailing edge wedge between the skins prior to drilling, spring clamps work pretty well. Cleko clamps would just slide off because they cannot hold an angle.
When dimpling in tight spaces, don't use the pneumatic squeezer. There is not enough fine control on squeezing and you risk accidentally dimpling the metal rather than the hole. Don't ask me how I know this! Luckily it was a practice kit! If you need to partially squeeze to fit the dies into the space, use a hand squeezer instead.
Don't rest the bucking bar on adjacent components while bucking. This just results in scratches on those components and inconsistent rivets. Support the bucking bar entirely by hand.
When setting rivets, by bucking or squeezing, do not put any pressure on the shop head side otherwise. you risk raising the rivet as it is being set, resulting in the manufactured head resting proud of the surface. There should only. be slight pressure on the manufactured head, and the bucking bar or squeezer set must rest gently on the shop head.
When rolling a skin edge, a pipe should only be used to start the bend. Initially roll the edges to an angle of 45 degrees or less using the pipe. Finish the roll by hand, and as you gently squeeze the rolled edges together, the mating surfaces should end up parallel.
Don't back rivet without using rivet tape over the rivet heads otherwise you will leave marks on the back rivet plate after riveting.
If doing offset back riveting with a steel bucking plate, turn the rivet gun pressure up 3 notches from regular rivet gun pressure, otherwise the rivet won't set. Also make sure to keep the bucking plate completely over the rivet to ensure a good shop head (see update below).
Decisions Made
I have decided not to use the soldering iron to remove straps of blue film. It's too time consuming, and the skins and structure will get scuffed and primed later anyway. But, on second thought, I'll try again one more time.
Date: May 5 - May 14 2022
Time Taken: 7.8 hours
Update May 31, 2022:
As mentioned above, I had left 4 rivets undone in the trailing edge of the ribs as there was not enough clearance to fit tools into the small space there for riveting. The bucking bar I had ordered from Aircraft Spruce was also too big (although I am sure I will use it in other places on the real airplane eventually).
Instead, I fabricated a bucking plate out of a 2" x 3/16" flat steel bar that I purchased from Home Depot. I made the bucking plate 4" long, and using that I was able to rivet one side of each rib trailing edge flange. I found I had to turn the rivet gun pressure up 3 notches compared to what I had usually used in order to set the rivets well.
Fabricated steel bucking plate
The other side of each trailing edge was another issue though, as even this 3/16" thick bar would not fit in the remaining space between the trailing edge flange and the rivet I had just bucked on the other side. I tried partially setting the rivets as best I could first and then finishing it with the bucking plate, but the rivets sat slightly proud over the skin so I wasn't happy with that. However, I found this thread on VAF that I may try later when I rework this practice kit: Last 2 rivets by trailing edge on Rudder. Otherwise I'll just go with the suggested MK-319-BS pull rivets.