Van's Trailing Edge Kit - Part 1 - 1st Attempt
Started working on the Van's Trailing Edge Kit and built the first part which involves drilling, deburring and riveting together 2 pieces of aluminum sheet and some aluminum angle.
This was my first time working with dimples in countersunk holes, and riveting 1/8" rivets.
 |
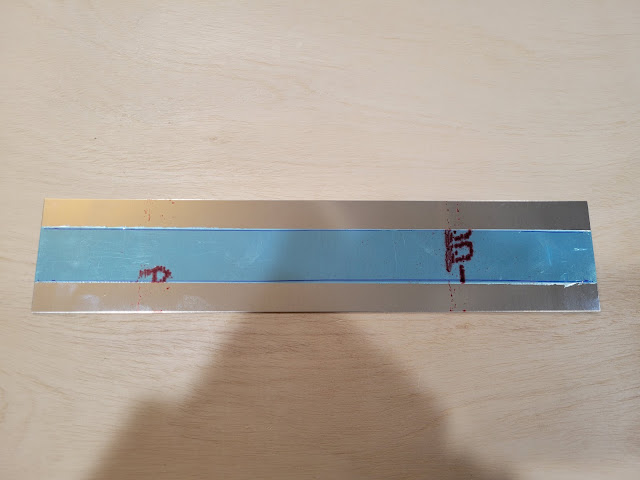
| Starting pieces |
I also tried removing the blue plastic film for the first time using a soldering iron as some other builders are doing. I found that setting the soldering iron to 80% of its maximum setting scored a clean line on the plastic, enabling easy removal with no impact on the underlying aluminum.
I'm not sure if I'll end up doing this when it comes to building the RV-10 as it is additional work that may not be necessary in the long run, but at least I know I have the option.
 |
| Pulled plastic from the edges of the skin along the rivet lines |
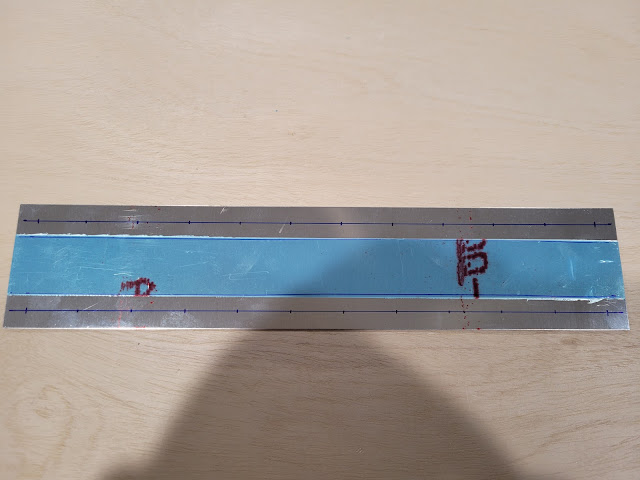
The next step was to mark the rivet hole locations on the top skin.
 |
| 24 rivet hole locations marked |
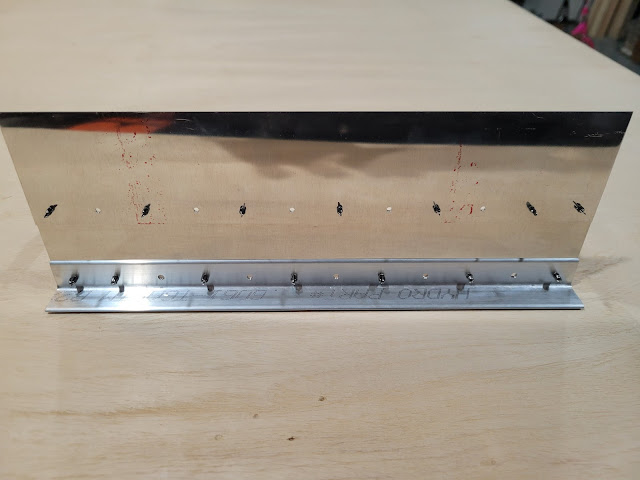
The remaining holes in the aluminum angle and bottom skin were match drilled using the top skin as a guide. Once all holes were drilled the 3 pieces were clecoed together.
 |
| All holes drilled... |
 |
| ...and pieces clecoed |
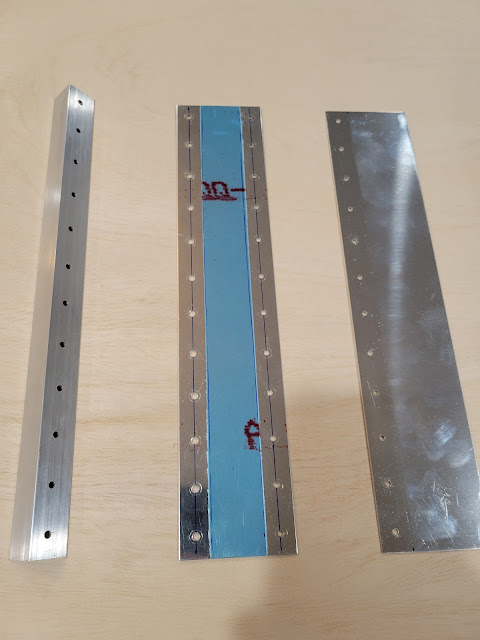
The next step was to debur all holes and edges, and dimple the holes that would hold flush rivets.
To adjust the DRDT-2 after inserting a new dimple die set, adjust threads until dies meet and keep turning until full downward extension of the handle causes DRDT-2 top frame to flex up about 1/8". Make sure to secure threaded bolt in position with jam nut.
I was planning to edge form the top skin edge that overlaps the bottom skin, but I forgot to do it before dimpling the top skin holes. Once the top skin holes were dimpled, it was impossible to run the edge forming tool along the edge. Next time I'll need to remember that dimpling should be the penultimate step before (priming and) riveting, and all else should be done beforehand.
 |
| Everything deburred and holes dimpled |
A few holes had to be countersunk on the aluminum angle to accept dimples for flush rivets. It took a little time to figure out how best to adjust the countersink cage, but I think I got it now. Check out the lessons learned below!
 |
| Countersunk holes for 1/8" rivets |
 |
| Assembly clecoed together, ready for riveting |
The final step was to rivet everything together using a variety of rivets including pulled rivets, flush rivets, universal rivets, 1/8" and 3/32" rivets. All went together nicely, but 1/8" rivets took significantly longer to set that 3/32" rivets at slightly higher psi. The bench vise helped immensely in keeping everything stable and secure as I bucked rivets.
Also, the Aircraft Tool Supply pneumatic rivet puller I purchased from Aircraft Spruce worked beautifully, and is much easier to use than the manual rivet puller.
 |
| Skins riveted together using 3/32" flush rivets |
 |
| All rivets set! |
 |
| Aluminum angle was. attached using a variety of 1/8" rivets |
Lessons learned
- If you need to form (crease) an edge, make sure to use edge forming tool prior to dimpling, otherwise dimples get in the way.
- To drill #30 holes into a sheet of aluminum, start by drilling #40 holes and then upsize to #30. It is easier to get consistent accurate hole placement this way.
- Use wood at least 1" thick as a drill block to reduce chances of drilling into workbench.
- Ensure that dimples in a countersunk hole are fully seated. If needed, deepen the countersink as necessary.
- To adjust countersink cage, only rotate front part of cage keeping all other parts stationary, otherwise you will get unpredictable results. With the bottom of the cage facing away from you, rotate the front (bottom) counter-clockwise to increase the depth of cut, and clockwise to decrease the depth of cut.
- 1/8" rivets take much longer to set (buck) and need a higher riveting gun psi (1-2 notches) than 3/32" rivets. Get some gloves to wear as tungsten bucking bar digs into palms while riveting.
Date: May 3 - May 4 2022
Time Taken: 2.9 hours