After cutting, drilling, countersinking and deburring all mid fuselage bulkhead parts, I was ready to prime them all before final assembly. However, all the priming I had done until this point had been outdoors during favorable weather (~ 65-70 deg). Now being the middle of winter, the weather wasn't cooperating so I had to find a way to prime parts indoors while containing any overspray.
I found a
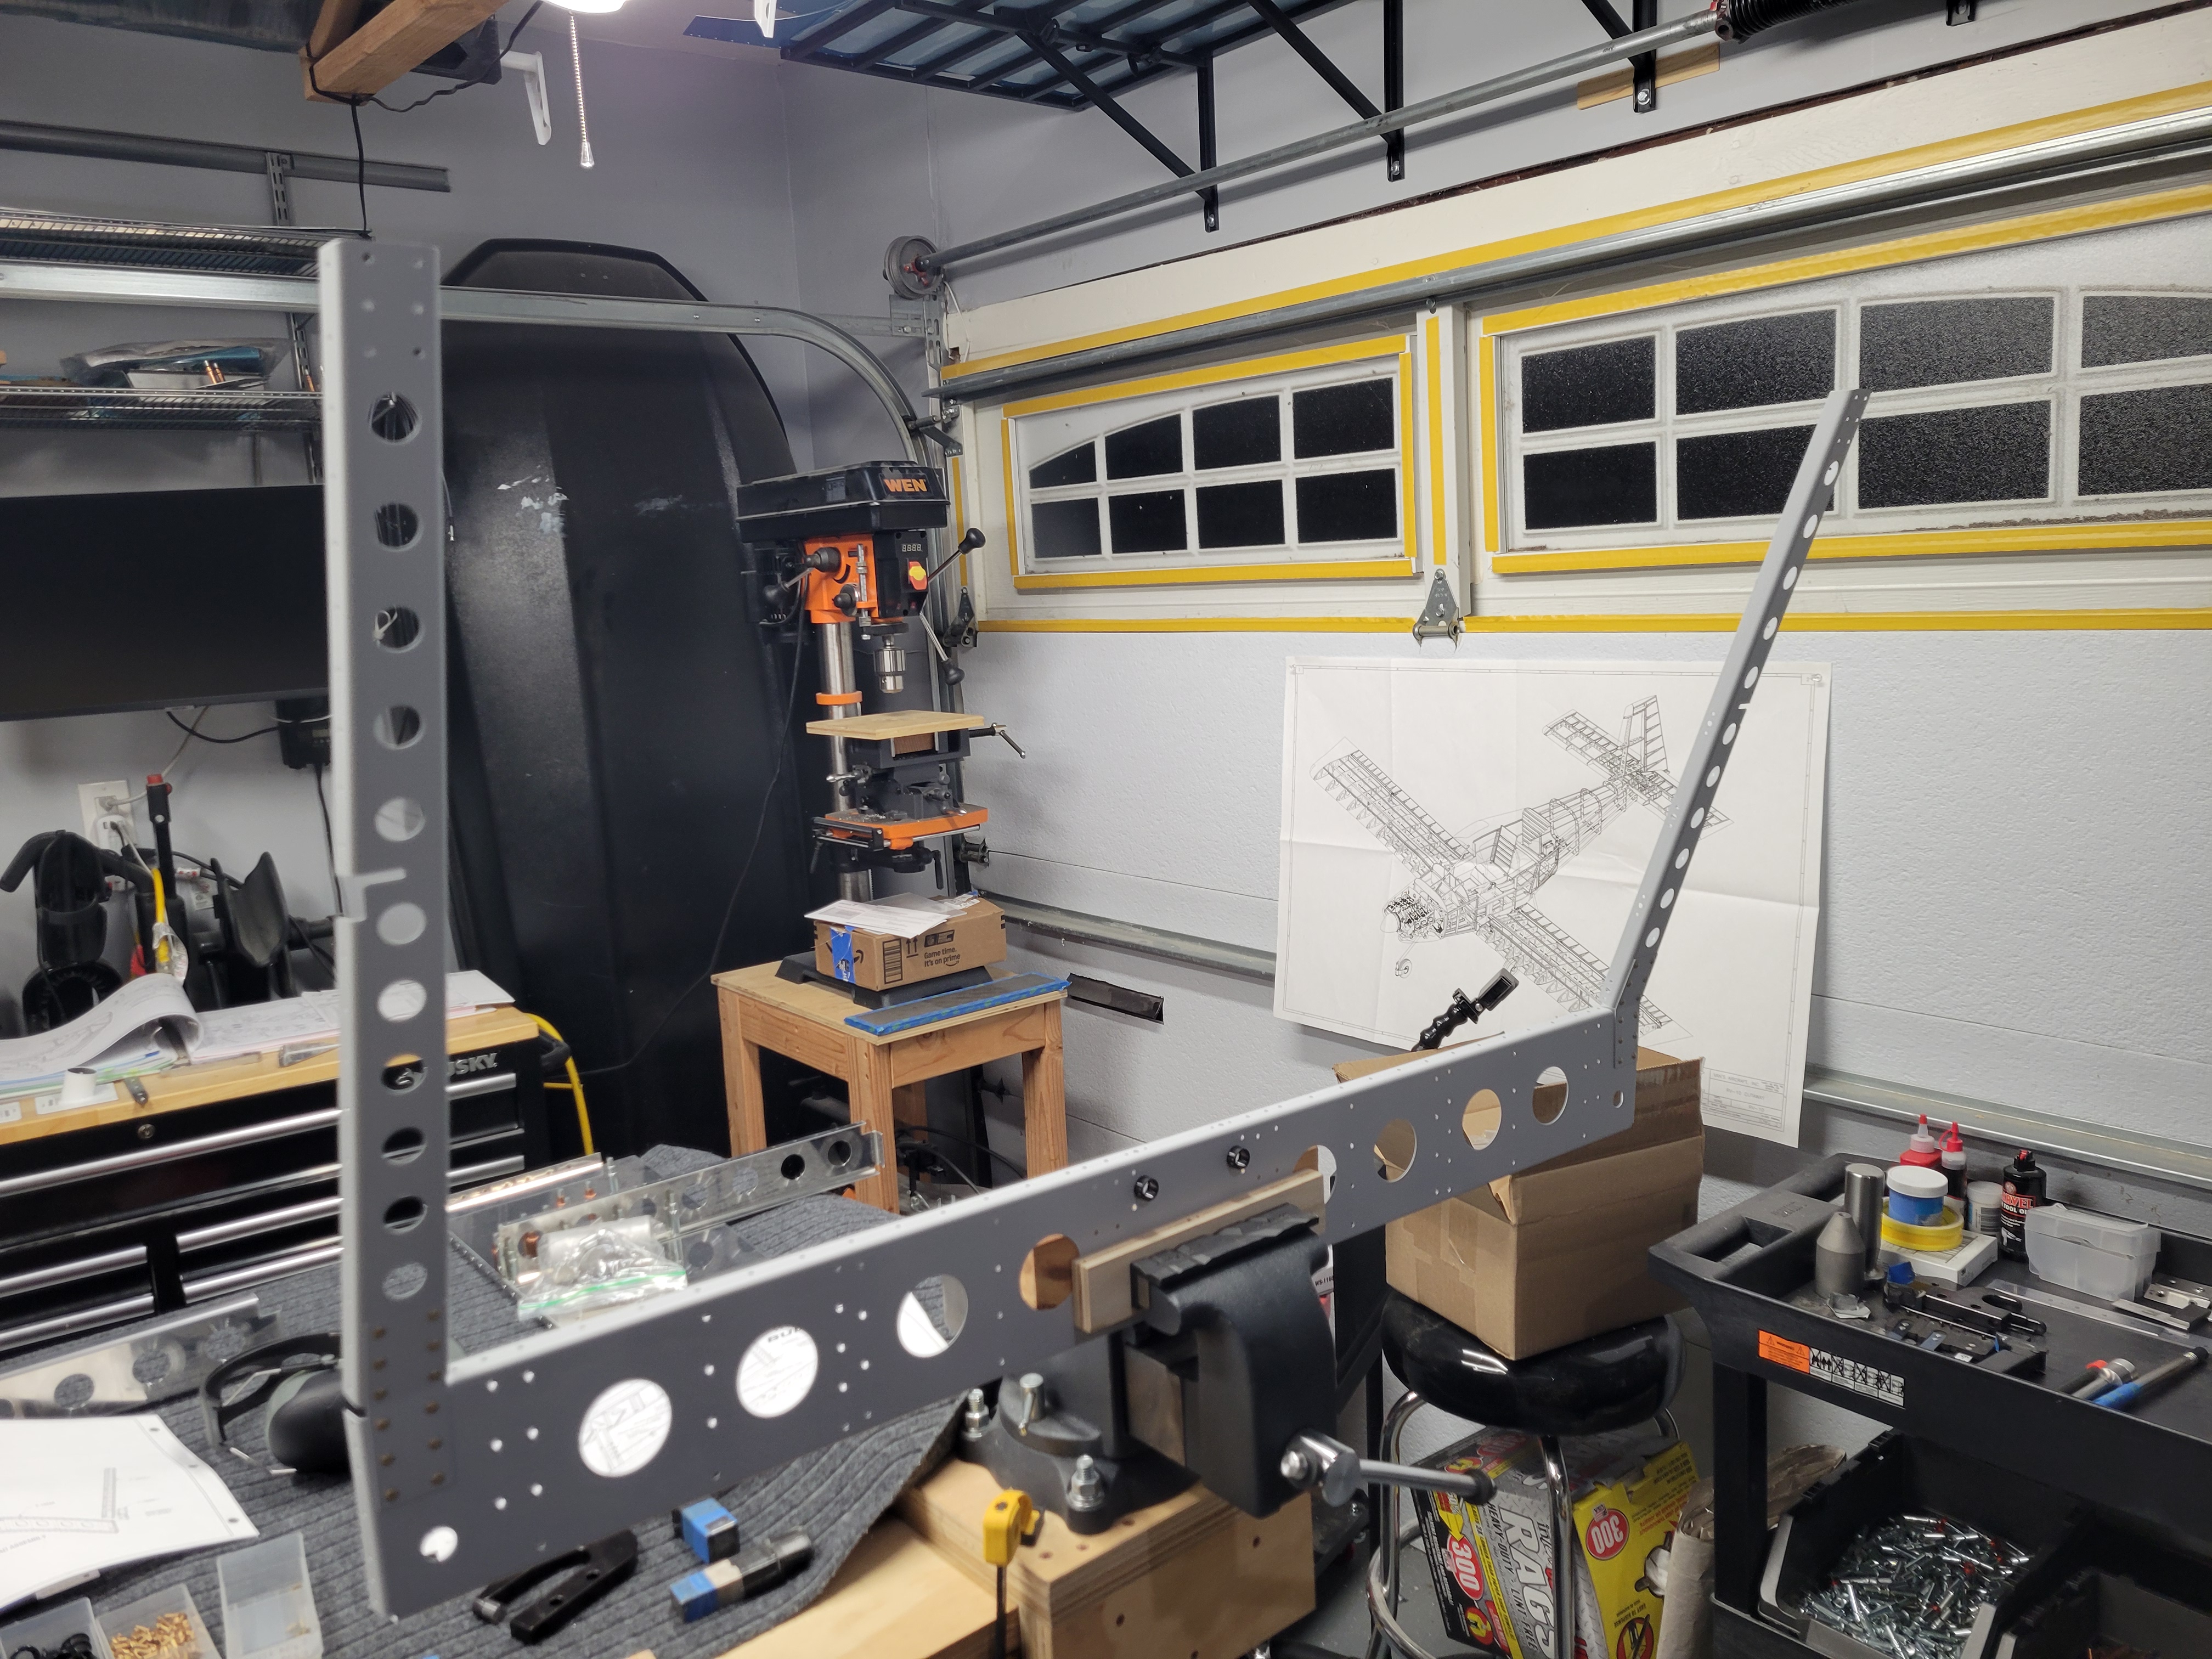
medium sized collapsible spray tent online, and put together a small spray table that would sit on a couple of sawhorses. The tent has an opening in the back that allows me to insert some air filters, and an
extractor fan I purchased helps to pull away any fumes and overspray. With this setup, I was able to successfully spray all parts while staying warm in my garage.
 |
| Bulkhead parts tagged and ready to be sprayed |
 |
| Spray tent set up in my garage |
 |
| Fan and filters help to pull out any fumes and overspray |
 |
| All mid fuse bulkhead parts primed and left to cure for a couple of days |
With everything primed, I started final assembly by riveting the seat rail supports together. These were easily riveted using the pneumatic squeezer and the longeron yoke.
 |
| Seat rail support halves riveted together and temporarily clecoed to the bulkheads |
 |
| Nutplates were riveted where needed to each seat rail support |
 |
| Seat rail support with nutplates attached |
 |
| From the top, the nutplate attach rivets are flush to the seat rail supports |
 |
| Seat rail support fully riveted and ready to be attached to the bulkheads |
I then riveted nutplates onto the center section bulkheads, and bolted these and the seat rail supports to the center section assemblies.
 |
| Riveting nutplates to the center section bulkheads |
 |
| Torquing down the bolts that attach the seat rail supports |
 |
| Bolts had to be torqued from the bolt head side due to lack of space for the torque wrench on the nut side |
Next, I started riveting the center section bulkheads, seat rail supports and stiffener angles to the forward center section bulkhead assembly. These were all easily bucked.
 |
| Forward center section bulkhead assembly clamped and ready for riveting |
 |
Bolts were temporarily placed through landing gear mount holes to maintain alignment while riveting
|
 |
| Rivet shop heads were formed on the aft side of the assembly where possible, and on the forward side where the rivet gun could not easily be placed on the rivet |
 |
| Bucking rivets in a staggered pattern |
 |
| Half way there on this bulkhead... |
 |
| Bulkhead fully riveted to assembly |
 |
| No marks on the surface after riveting |
 |
| Forward center section bulkhead assembly complete! |
Assembling the aft center section bulkhead was a similar process of torquing bolts and then setting rivets.
 |
| Several bolts of different lengths hold the bulkhead parts together |
 |
| All bulkheads and seat rail supports bolted to assembly |
 |
| Holes not to be riveted at this time were taped off |
 |
| Aft center section bulkhead clamped to edge of workbench for riveting |
While riveting the aft center section bulkhead together, I took some time to rivet the nutplates to the rear spar bulkhead side channels and their respective gussets.
 |
| Bulkhead side channel clamped down while attaching nutplates using the pneumatic squeezer |
 |
| 4 nutplates attached to each bulkhead side channel |
 |
| Nutplates also being attached to the gussets. There is a tight angle here, but all rivets were set with the pneumatic squeezer |
 |
| Both gussets ready to be riveted to their respective side channels |
 |
| Center section hat stiffeners riveted to bulkhead |
 |
| Left side center section bulkhead riveted |
 |
| Right side center section bulkhead being riveted |
 |
| Aft center section bulkhead almost complete! |
 |
| Rivet shop heads came out well |
There are a few additional steps to complete the aft center section bulkhead and these include riveting the center section upright bars in place, along with a wear strip in the center of the top flange.
 |
| Upright bar was aligned in place with 2 bolts and securely clamped prior to riveting |
 |
| I used a standard 1" mushroom set to set the long 4-16 rivets. The issue with these rivets is that they tend to bounce slightly proud while riveting. I found the best technique to counter this was to rivet in shorts bursts, followed by a quick burst without the bucking bar to push the rivet back in. Eventually the rivet swelled enough to remain in place, and the shop head could then easily be bucked to final size. |
 |
| Upright bar fully riveted with correctly sized shop heads |
 |
| I used the band saw to cut a wear strip to 4-3/4" length from a piece of plastic. The plans specify this exact length, and no longer. The reason for this is that in the following section of the plans, the mid fuselage ribs fit tightly against this wear strip, so double check measurements here! |
 |
| Next, 2 rivet hole positions were marked on the wear strip... |
 |
| ...and drilled to #30 |
 |
| With the wear strip clamped in the EXACT center of the bulkhead top flange, the rivet holes were match drilled |
 |
| Wear strip match drilled to the bulkhead. Note the edge of the wear strip aligns with the edge of the flange |
 |
| The wear strip rivet holes were deburred... |
 |
| ... and the wear strip was riveted to the bulkhead with LP4-3 blind rivets |
 |
| Aft center section bulkhead is now complete! |
Moving on to the rear spar bulkhead, after marking off hole locations to leave open, the rear spar attach bars were easily riveted to the spar.
 |
| Holes along the rib lines are left open. I marked those with tape to ensure they were not accidentally riveted |
 |
| The vise really helps here to keep the rear spar stable while riveting |
 |
| The rear spar was repositioned in the vise while riveting so that I was always setting rivets directly over or in vicinity of the vise (to reduce vibrations of the spar while riveting) |
 |
| Rear spar attach bars riveted |
 |
| Shop heads on aft side |
 |
| Vise was again used to clamp the rear spar while riveting the idler arm brackets |
 |
| The angled end of the tungsten bar fit perfectly to enable bucking of the top most rivet |
 |
| Idler arm brackets riveted to the rear spar |
 |
| The last parts to rivet to the rear spar were the crotch strap lugs. These were easily squeezed |
 |
| Riveting the gussets to the bulkhead side channels was tricky due to the limited space within the channel, but I was able to buck all of these |
 |
| Gussets riveted in place |
 |
| Rear spar bulkhead assembly riveting complete |
The final part to rivet together in this section was the F-1034 fuselage bulkhead. This one was pretty easy as there are only 24 rivets to set, and they could all be squeezed.
 |
| Fuselage bulkhead clamped in vise while riveting |
 |
| Rivets attaching the gussets which hold the bulkhead parts together. Be careful here to ensure that the gussets are correctly oriented. Correct placement has the side channels pointing vertically rather than angled outwards |
 |
| Shop heads looking good! |
With the four bulkheads riveted together, this completes section 25 and I could now move on with preparing the ribs and skins that attach the bulkhead together in the next section.
Primer used: ~160g + 15g distilled water
Priming Time Taken: 3.6 hours
Time Taken: 12.3 hours
Dates: January 5 2025 - January 17 2025
Mid Fuse Bulkheads Total Time: 28.5 hours
RV-10 Build Total Time: 902.7 hours
Priming Total Time: 115.3 hours (not included in build time totals)